




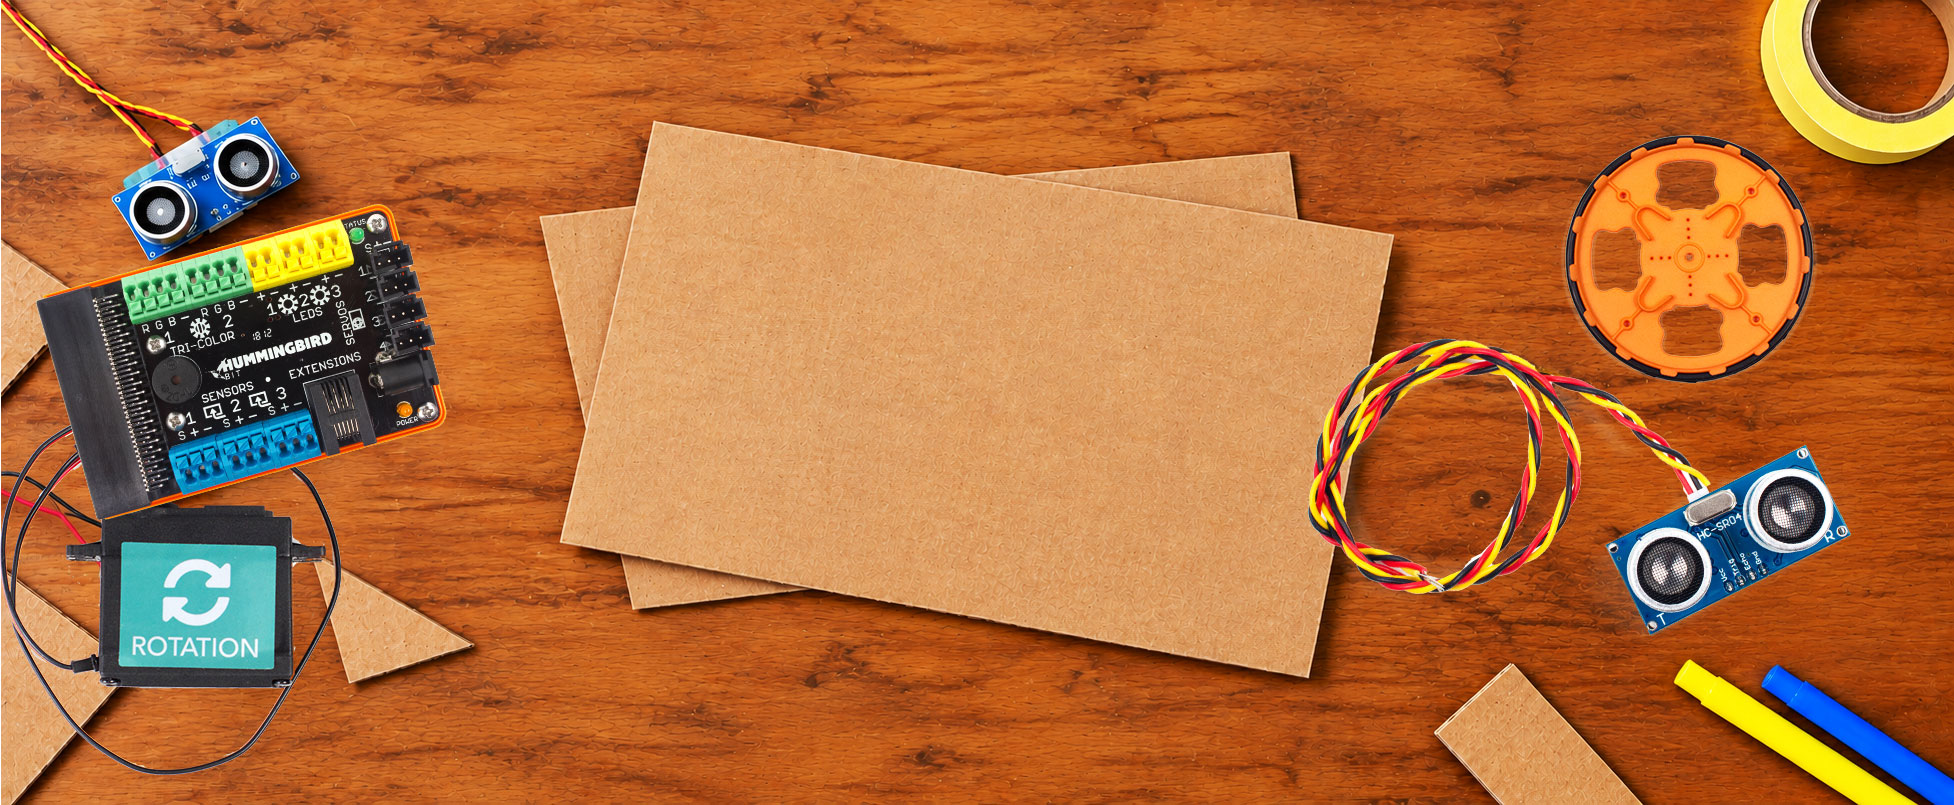
Cardboard and Hummingbird projects go together like peanut butter and jelly. The challenge has always been finding a simple way to attach servos and sensors without relying on hot glue or other permanent attachment methods.
The Swift Hummingbird Flock Add-On solves that problem with reusable mounts that connect Hummingbird components to cardboard using Swift connectors. Students can spend less time figuring out how to attach their electronics and more time building, coding, testing, and creating.
What Is the Swift Hummingbird Flock Add-On?
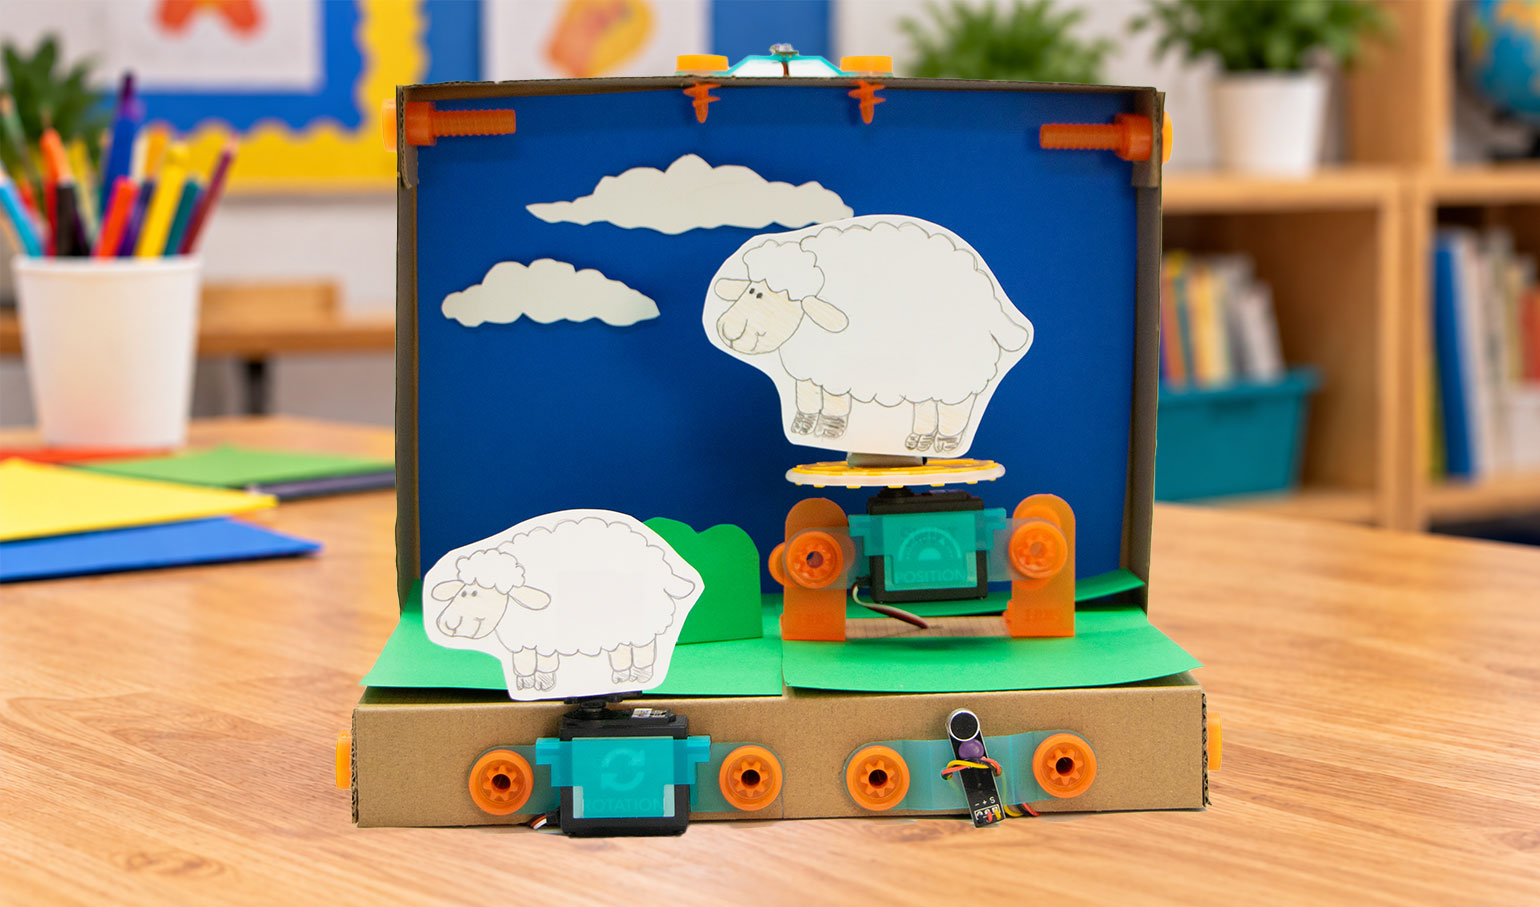
The Swift Hummingbird Flock Add-On includes reusable mounts for two of the most common components used in Hummingbird projects: servos and sensors. Each mount attaches to cardboard with Swift connectors, making it easy to incorporate electronics into projects.
Servo Mount
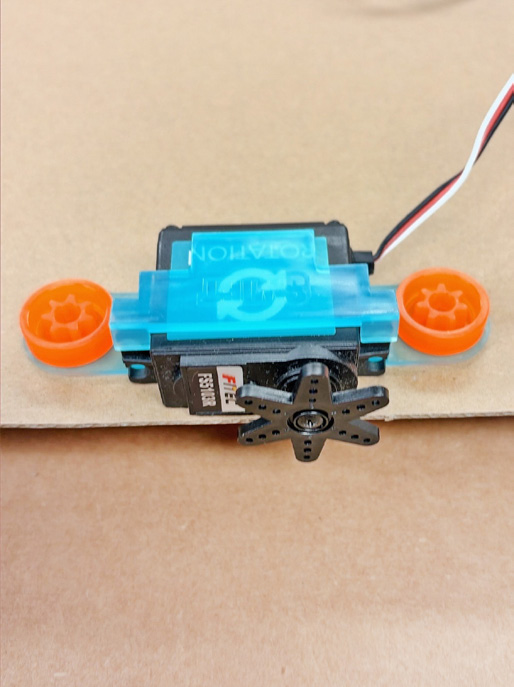
Secure a servo to a cardboard structure while keeping its moving parts accessible. Add motion to mechanisms, characters, models, and other interactive creations.
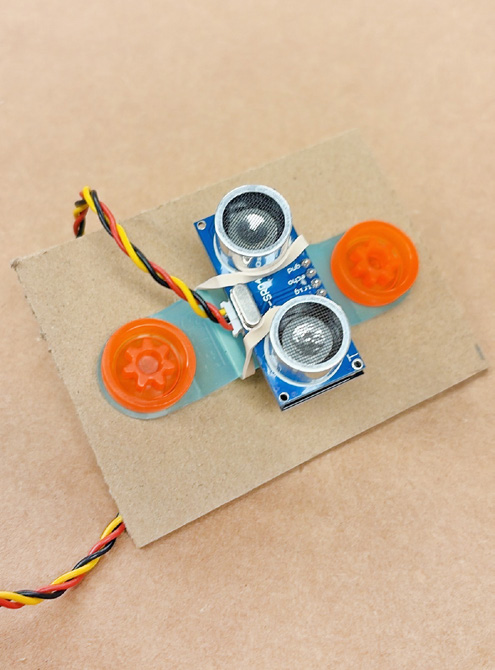
Sensor Mount
Position a sensor where it’s needed to make projects interactive and responsive. The mount keeps the sensor secure while allowing students to adjust its placement.
How to Attach Components to Cardboard
Attaching a servo or sensor can be done in three easy steps. Position the mount and make the holes, secure it to the cardboard with Swift connectors, then add your Hummingbird component. The best part is the mount is able to be repositioned and reused.
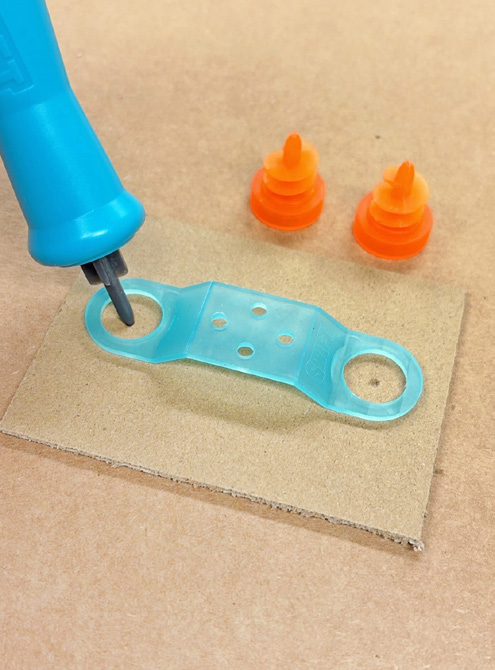
1. Position & Prep the Mount
Position the mount where you want the component and make two small holes.
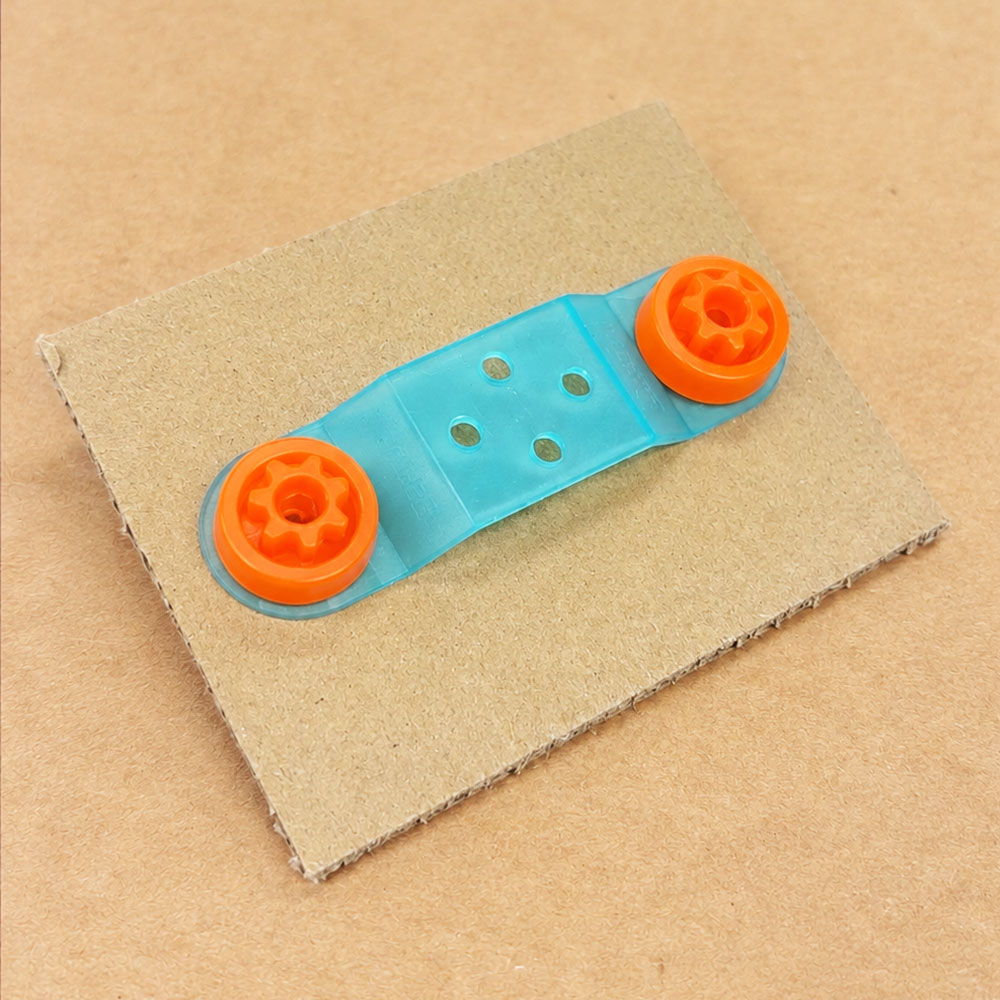
2. Secure the Mount with Swift
Insert the Swift connectors to securely attach the mount to the cardboard.
3. Add the Component
Attach the servo or sensor to the mount & connect it to the Hummingbird.
Build, Code, and Create with Cardboard
Leave the hot glue behind. Securely attach servos and sensors to cardboard, then easily remove, reposition and reuse them as your projects evolve.